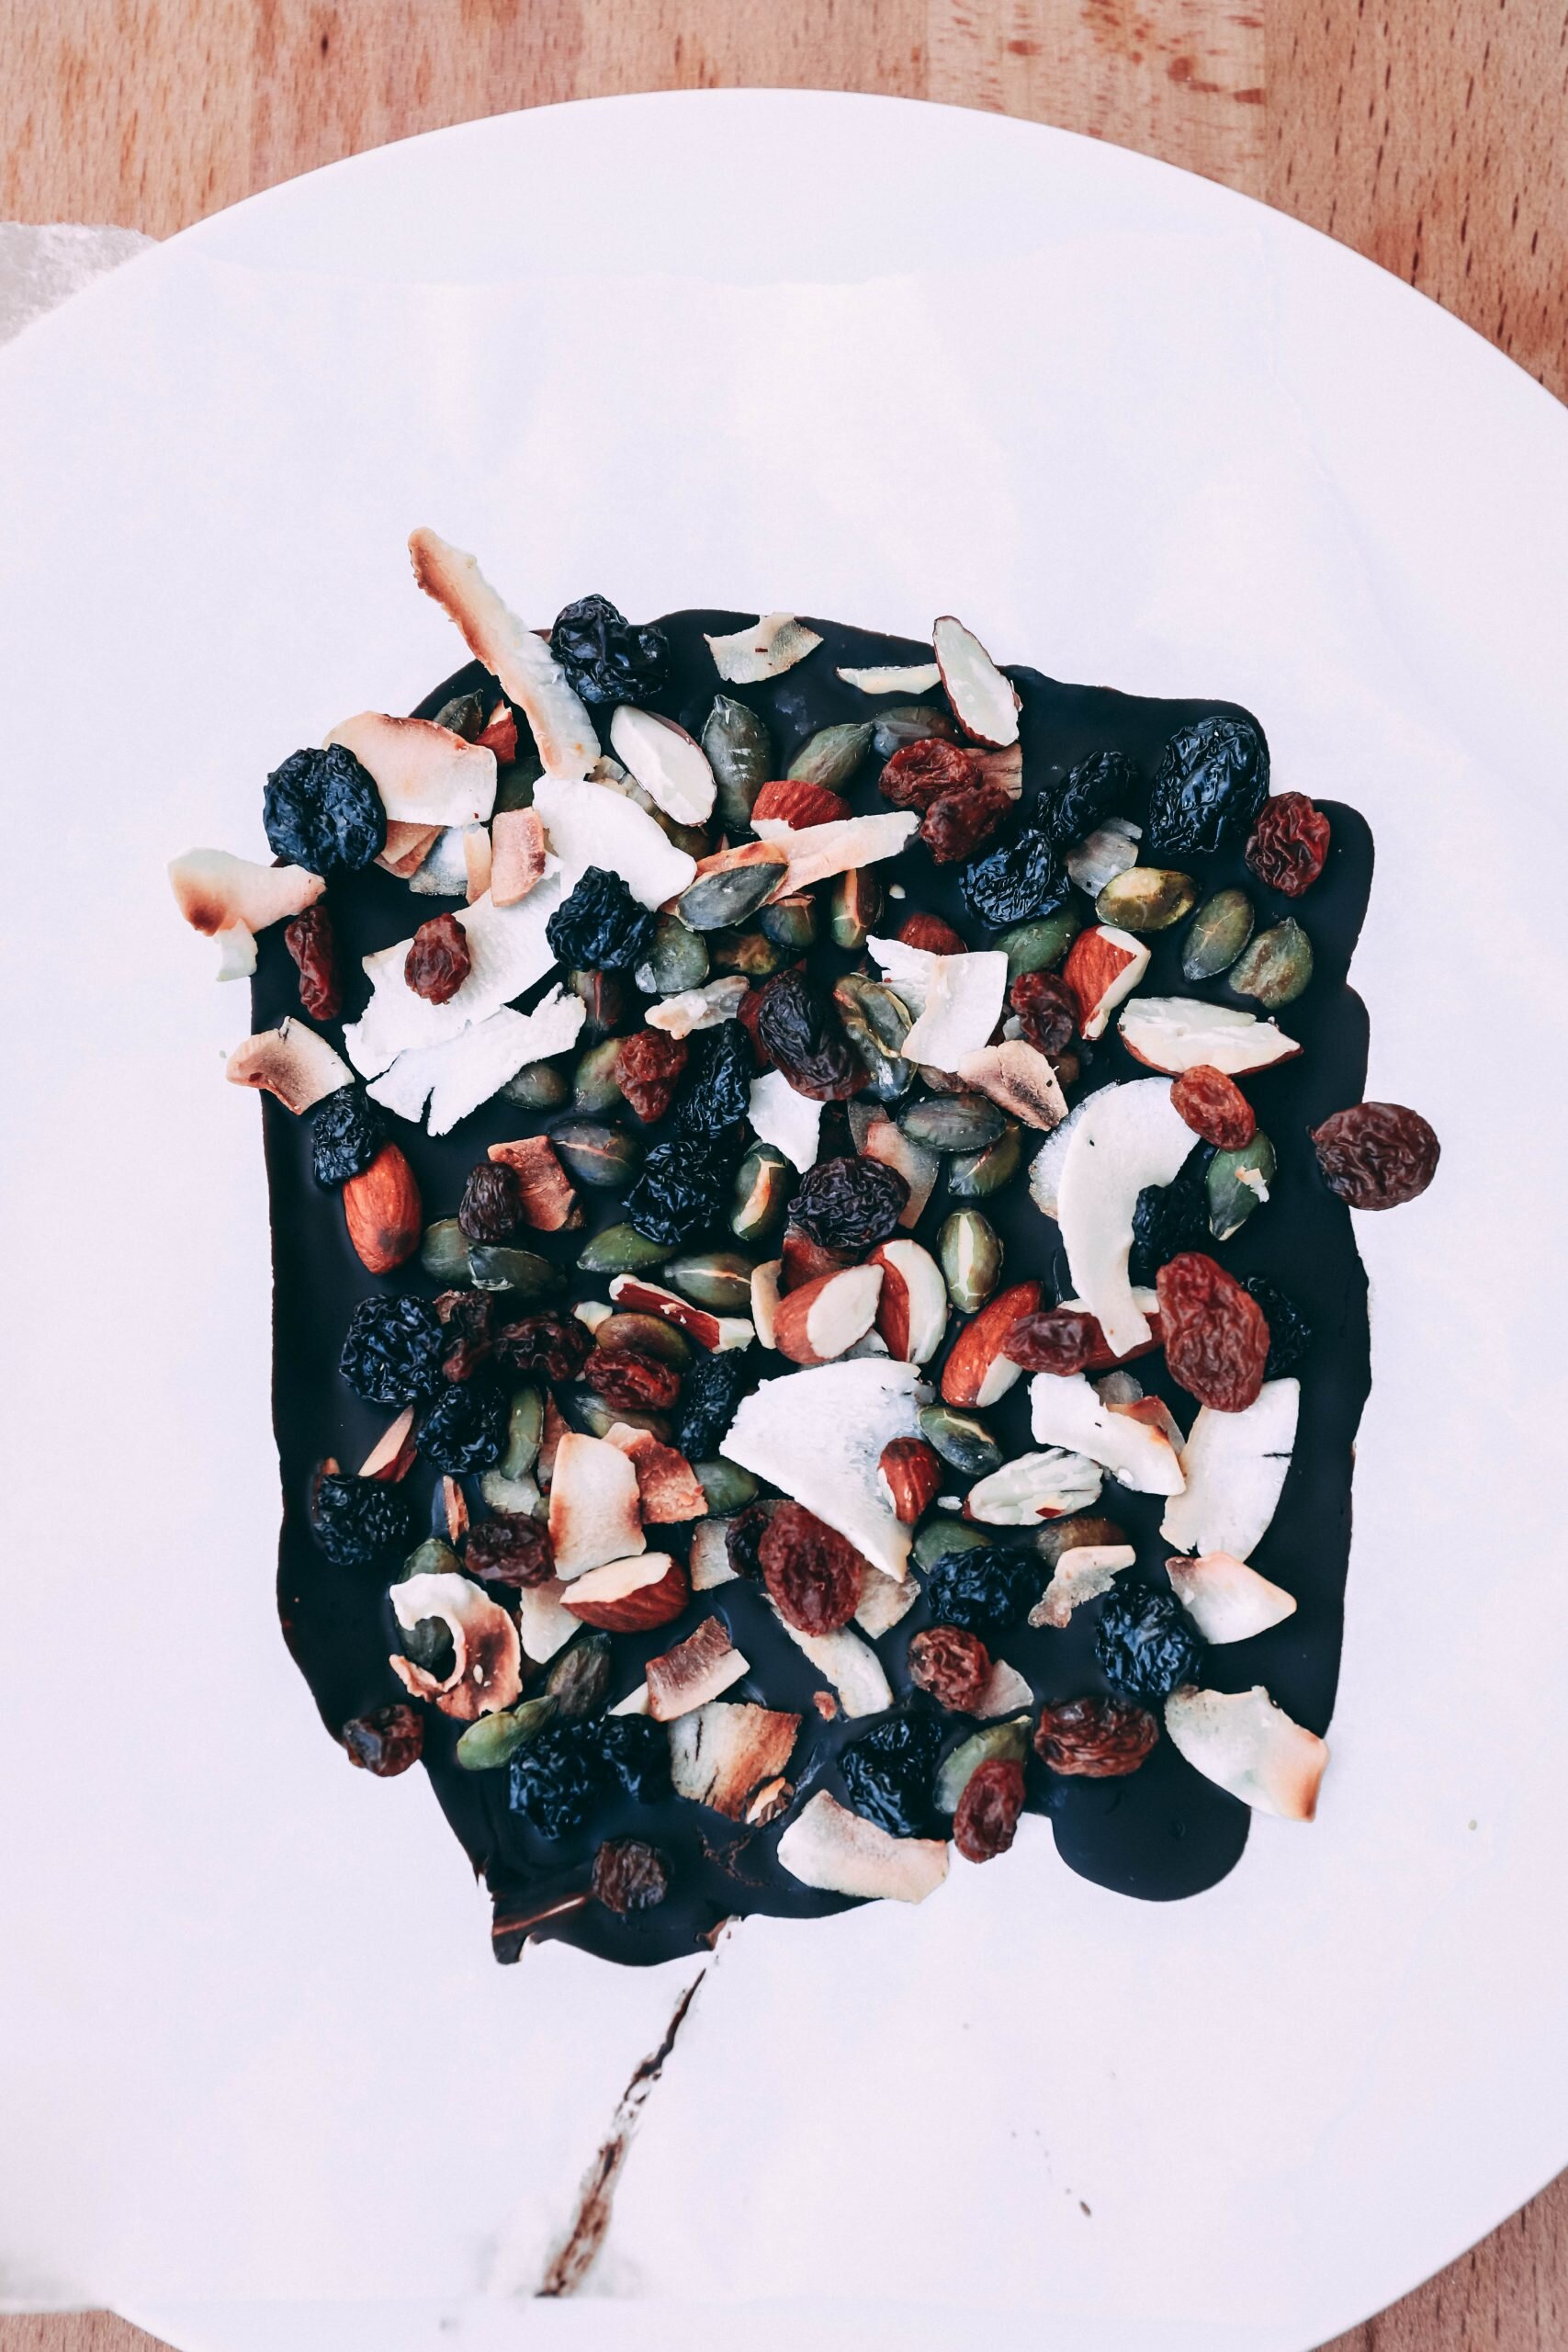
DARK CHOCOLATE BARK WITH COCONUT, ALMONDS & SOUR CHERRIES
Who else loves chocolate?
And when I say chocolate, I mean dark chocolate aka 85% cacao content. But mind you, not any chocolate that has dark written across it is the kind of chocolate I am talking about here. Generally, dark chocolate means that compared to milk chocolate, a higher percentage of the cocoa beans was used. To be categorised as dark, the amount of cocoa solids must be at least 35%. So imagine what the remaining 65% could be: sugar, milk and non-cocoa fats. So even though a chocolate claims to be dark, it may not be what you are looking for and it certainly isn’t automatically healthy. When buying chocolate, we should not only pay attention to the cacao content (as I already mentioned, I preferably buy 85% and upwards, even 99% has its appeal) but also to the sugars that were used.
I love to read through the ingredients on the back of a package and see a very short list of three items: cocoa mass, raw cane sugar, cocoa butter. Bingo! This is what we’re looking for, fellow chocolate lovers!
Servings: 1 bar of chocolateTotal time: 40 minFor the bark
Ingredients
100g 85% organic dark chocolate
½ cup coconut shavings
⅓ cup almonds
⅓ cup pumpkin seeds
½ cup raisins
¼ cup sour cherries
¼ tsp cinnamon
pinch of salt
Instructions
In a medium-sized metal bowl, break the bar of chocolate into rough chunks.
Place a small pot on the stove and bring water to a boil. The water should cover the bottom of the pot by 2-3 cm.
Once the water is hot and evaporates, place the metal bowl with the dark chocolate in the water bath and slightly reduce the heat. Stir the melting chocolate every now and then and keep an eye on it (also, don’t miss out on the glorious chocolaty smell!).
In a frying pan, toast the seeds, nuts and coconut shavings until they are golden brown and crunchy. Make sure to give the pan a shake two or three times during this process to make sure they don’t burn.
Cover an even big plate, tray or a big wooden chopping board with baking paper. Keep in mind that whatever you choose should fit into the fridge or freezer.
Once the chocolate is fully melted (check for small chunks that may need some more time in the steamy heat), pour it onto the baking paper and spread out evenly. I like to do this by simply holding the plate (tray, or wooden board), tilting it from side to side, front and back, and let gravity do its job. This technique works really well for me and the chocolate bark turns out to be very even and thin! You can also use a spatula if you prefer. Very important step, do not skip: don’t forget to lick it after you’re done!
Once the chocolate is evenly distributed, sprinkle the toasted nuts, seeds and coconut shavings on top. Also, drop the raisins and sour cherries across it and lastly, finish off with the sprinkle of cinnamon.
Place the chocolate bark in your freezer or fridge and allow it to cool down and harden (30 minutes in the freezer will do). If you place it in the fridge, this process will take slightly longer (~1 hour).
Now break the chocolate bark into generous chunks and enjoy the melting sensation on your tongue along with the crunch of the topped goodies. At this point, coffee or tea would be a great idea!


